


There’s nothing worse than setting out on a hike only to be sidelined by painful blisters. Breaking in a new pair of hiking boots properly is essential to keeping your feet comfortable and blister-free on the trail. By taking a little extra time to prepare, you can avoid discomfort and ensure your boots are adventure-ready. In this guide, we’ll share simple, effective tips to break in your boots so you can hit the trails with confidence and ease.
Why Breaking in Hiking Boots Matters
When you hit the trails, the last thing you want is aching feet or painful blisters holding you back. That’s why breaking in your hiking boots is so important. New boots can be stiff and unforgiving, causing discomfort and rubbing against your skin in all the wrong ways. Taking the time to break them in helps them mold to your feet, ensuring a snug yet comfortable fit.

Properly breaking in your boots also reduces the risk of blisters, hot spots, and even injuries. Ill-fitting footwear on rugged terrain can lead to twisted ankles or sore arches, turning your adventure into a struggle. By softening up your boots and adjusting to their feel before taking on longer hikes, you set yourself up for miles of enjoyable trekking.
Think of breaking in your hiking boots as prepping for your next adventure. It’s a small investment of time that pays off big with happier feet and stress-free trails. Your future self will thank you for it!
How to Choose the Right Hiking Socks
The right hiking socks can make or break your trekking experience, especially when breaking in new boots. Start by considering the material. Wool, such as merino wool, is a top choice because it regulates temperature, wicks moisture, and reduces odors. Synthetic blends are also excellent, offering durability and quick-drying properties.
Next, focus on fit. Your socks should hug your feet snugly without bunching or stretching too tight, as both can cause friction and lead to blisters. Look for socks designed specifically for hiking, as they often have reinforced areas like the heel and toe for extra durability and comfort.
Cushioning is another key factor. Choose socks with padding that matches the terrain of your hike. For rugged trails, thicker socks provide more protection, while lighter cushioning works well for less challenging paths. Additionally, ensure the socks have moisture-wicking capabilities to keep your feet dry and comfortable throughout your hike.
Investing in quality hiking socks is a small step that ensures happy feet and a smoother break-in process for your new boots.
Prepping Your Boots Before a Hike
Prepping your boots before a hike is a key step in ensuring a comfortable and problem-free adventure. Start by giving your boots a thorough cleaning, especially if they’ve been sitting in storage. Use a soft brush and mild cleaner to remove dirt and debris that could cause irritation or damage over time.
Next, condition your boots if they’re made of leather. A good leather conditioner helps soften the material, making it more flexible and less prone to stiffness or cracking. This is especially important for new boots, as it can speed up the break-in process.
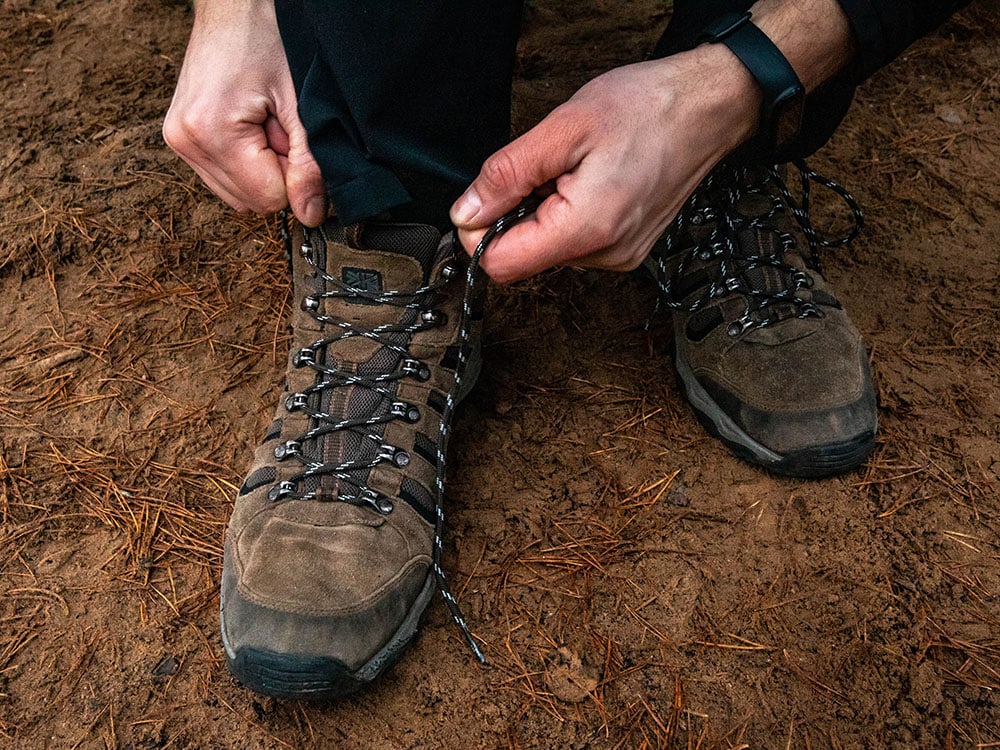
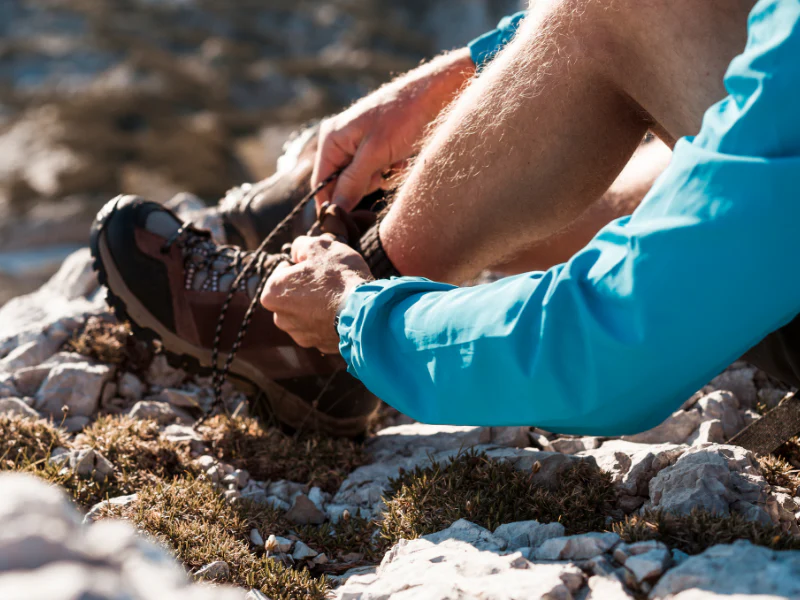
Once clean and conditioned, take your boots for a test run. Wear them around your home or on short walks to get a feel for their fit. Pay attention to any areas of discomfort and adjust laces or insoles as needed.
Finally, double-check your boots’ tread and waterproofing. If either looks worn, refresh the waterproofing or consider new soles. These simple prep steps ensure your boots are ready to support you, mile after mile.
Signs Your Boots Are Ready for the Trail
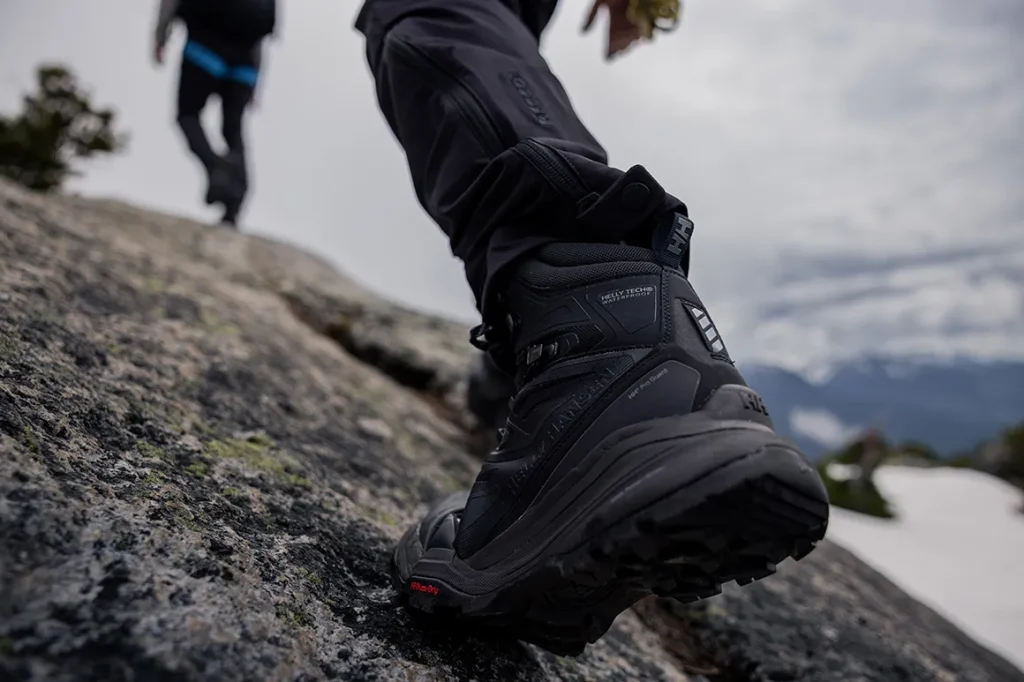
Knowing when your boots are ready for the trail can make or break your hiking experience. The first sign they’re good to go is comfort. Try wearing them for extended periods or on short walks. If your feet feel great afterward with no soreness, you’re on the right track.
Flexibility is another key indicator. Check if the boots move naturally with your steps rather than feeling stiff. Give them a gentle twist to see if the material bends without resistance; this flexibility is crucial for navigating uneven terrain.

Also, pay close attention to pressure points or hot spots. If there’s no pinching, rubbing, or irritation, your feet and boots are finally in sync. Keep an eye (and toe!) on your toes and heels, as these areas are often most prone to discomfort.
Once your boots feel like a second skin, and you trust their fit and performance, they’re ready for their ultimate test on longer hikes. Happy trekking!
Common Mistakes to Avoid When Breaking in Boots
Breaking in hiking boots takes patience, but avoiding common mistakes can make the process smoother. One big error is skipping the break-in stage entirely. Jumping straight into a long hike with stiff boots can lead to painful blisters and soreness. Instead, ease into it with shorter outings or wear your boots around the house to loosen them up.
Another mistake is choosing the wrong socks. Cotton socks, for instance, trap moisture, increasing the risk of blisters. Opt for moisture-wicking hiking socks made from materials like merino wool or synthetic blends to keep your feet dry and comfortable.
Overdoing it on your first hike in new boots is also a common pitfall. Your boots need time to adjust to your feet, as do your feet to the boots. Start with short hikes on easy terrain before tackling longer, more challenging trails.
Lastly, avoid neglecting proper care. Cleaning and conditioning your boots regularly during the break-in period can help maintain their fit and flexibility. With these tips in mind, you’ll set yourself up for more enjoyable hikes!
Final Thoughts
Breaking in your hiking boots, pairing them with the right socks, and prepping them properly are small steps that lead to big rewards. By taking the time to follow these tips, you’ll prevent blisters, avoid discomfort, and ensure your boots feel like a natural extension of your feet. Whether you’re hitting a short trail or planning a long trek, these strategies set you up for a more enjoyable and memorable adventure. Happy hiking!
